What it is ごあんない
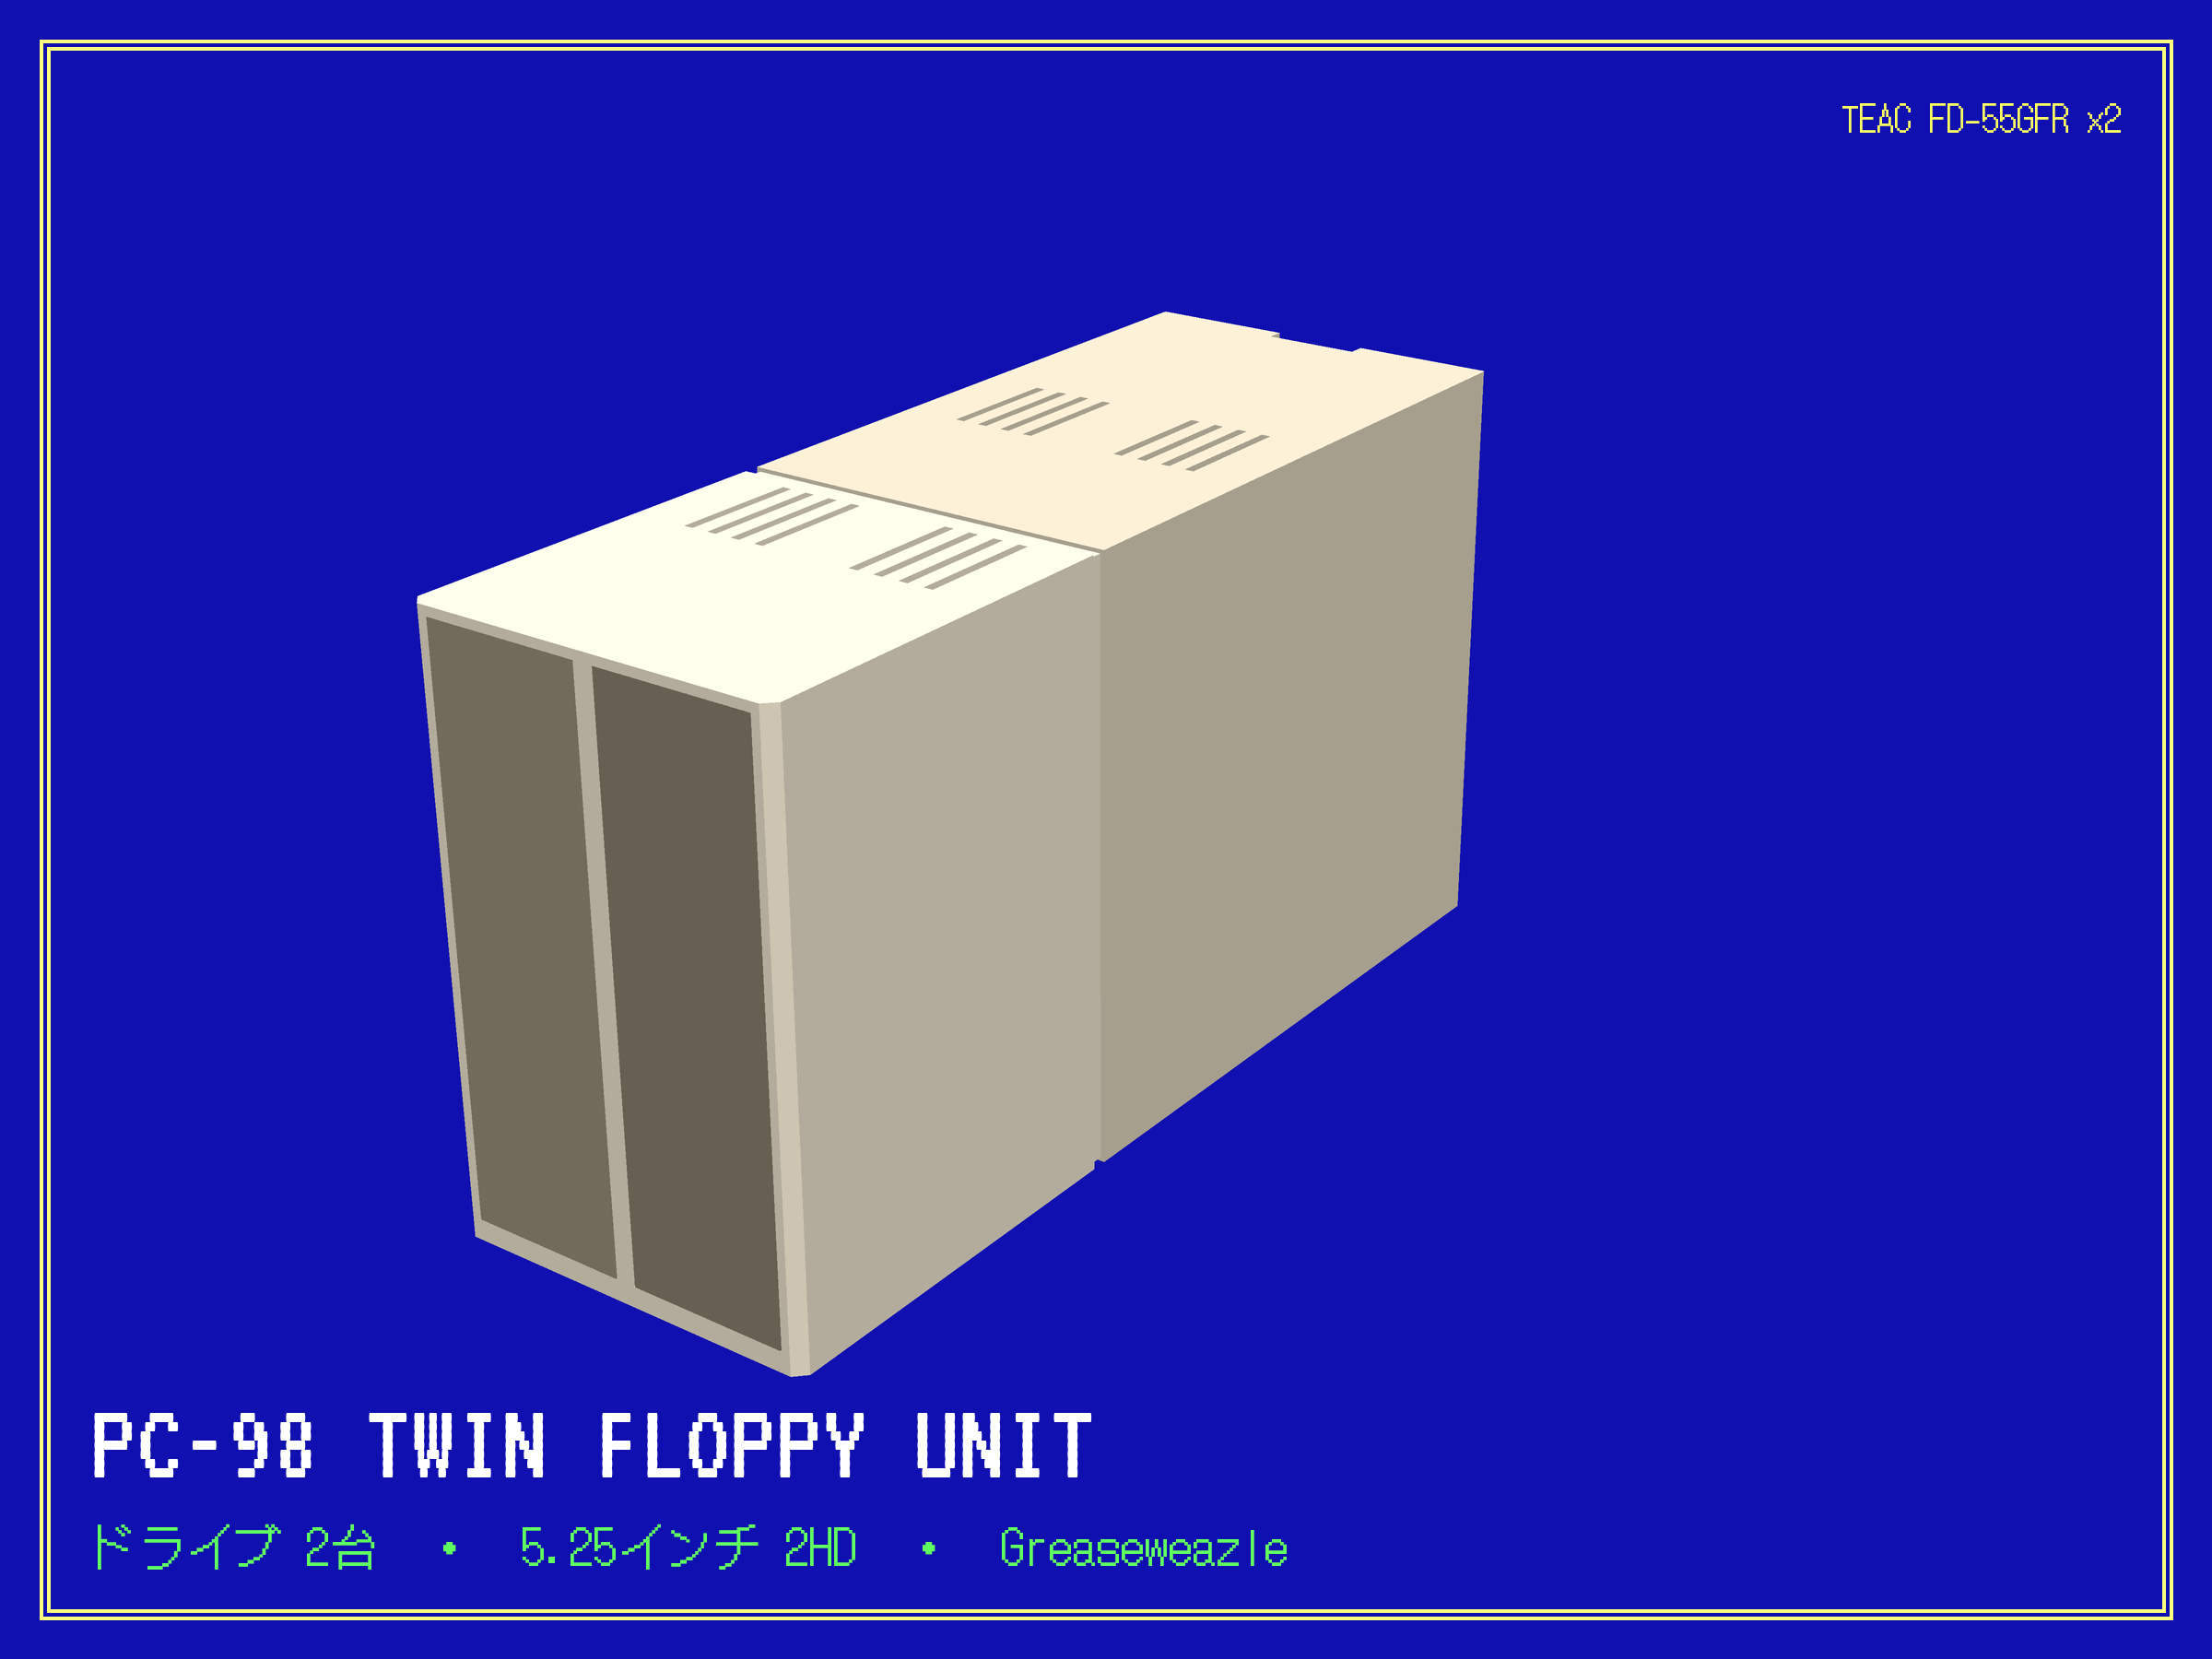
A 3D-printed box for two TEAC FD-55GFR floppy drives and a Greaseweazle. Plug it into a computer and play PC-98 games in an emulator from the real disks.
Start at step 1 and follow the menu down.
Free to print and share with credit, not for sale: CC BY-NC-SA 4.0 for the model and guides, MIT for the software. Everything is on GitHub.
Print プリント
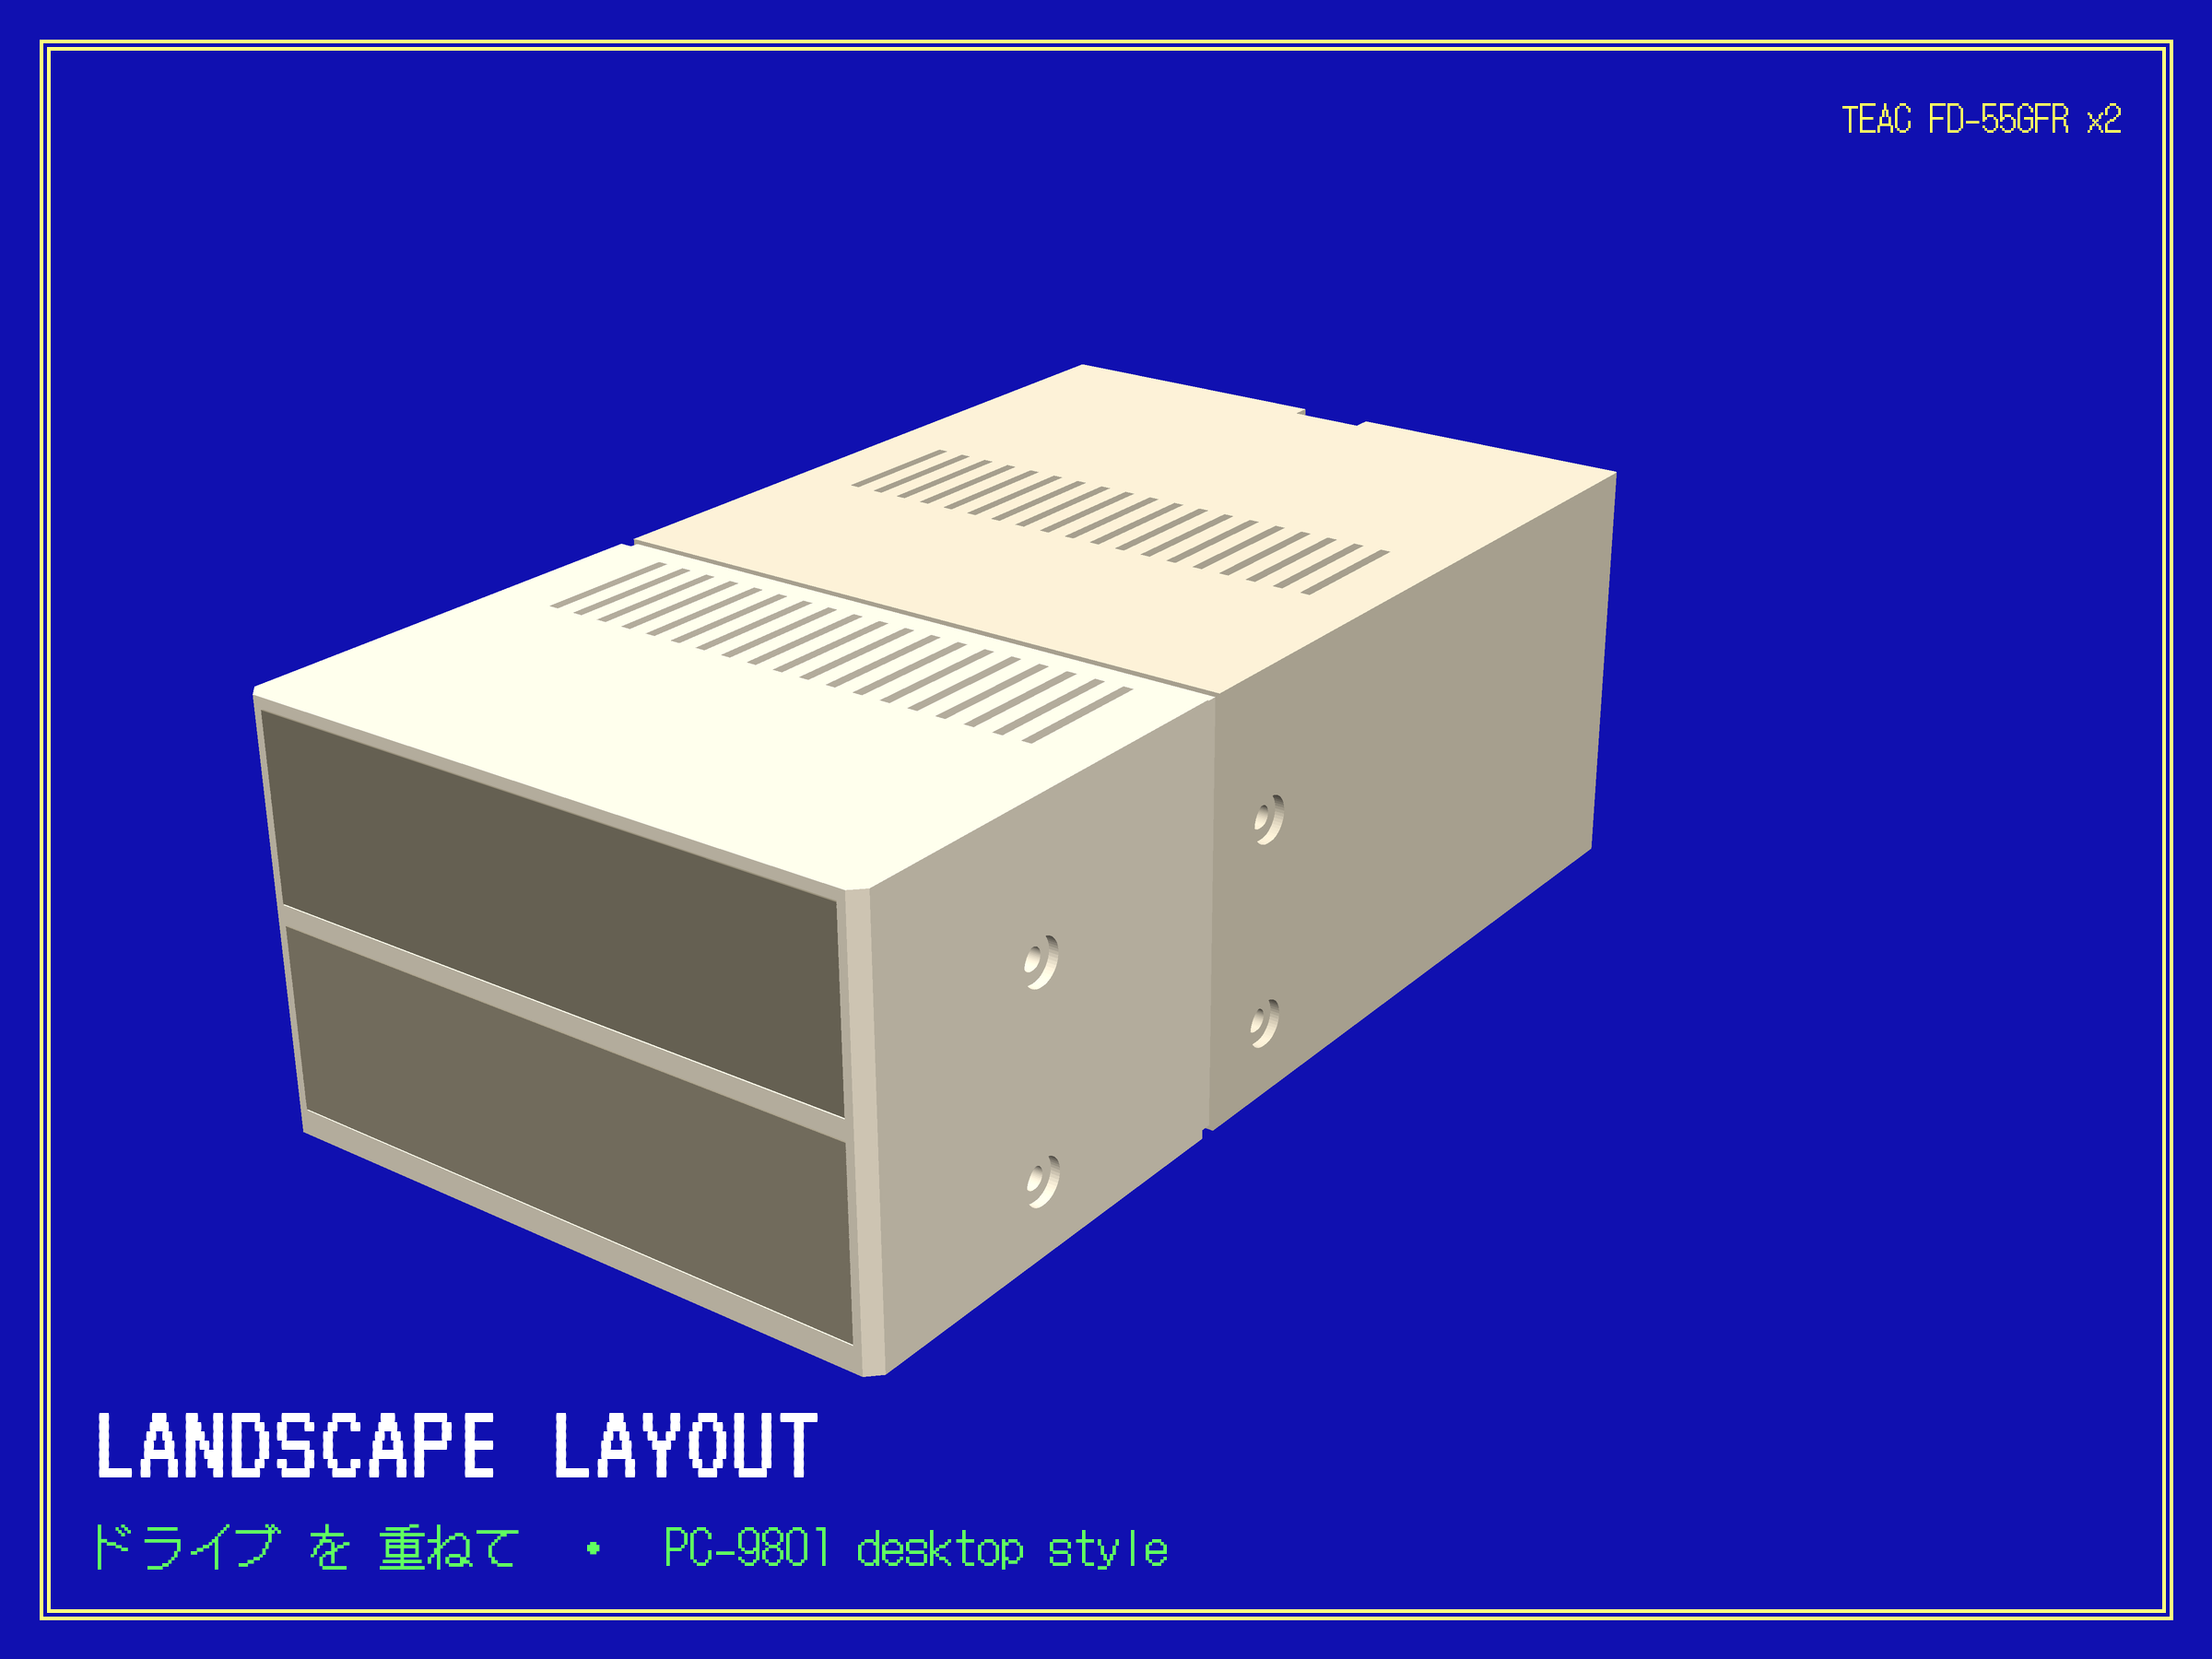
Download the files from Cults3D or GitHub, and pick one of the two layouts. Each has five parts.
- PETG, 0.4 mm nozzle, 0.2 mm layers, 20 % infill, no supports, no brim.
- 6 perimeters for the shells and test rings, 3 for the back panel.
- Test rings first. Print 0a, 3 and 0b. If a drive slides through the front ring and the panel clicks into the rear ring, print 1 and 2.
Buy parts 部品リスト
| Part | Qty | Where |
|---|---|---|
| TEAC FD-55GFR drive, this exact model | 2 | eBay |
| Greaseweazle V4.1 | 1 | decromancer.ca |
| 5 V / 12 V power supply | 1 | deviceside |
| Y power cable | 1 | deviceside |
| 34-pin twisted ribbon, 36" | 1 | cablesonline |
| USB-C cable | 1 | Amazon |
| 6-32 × 3/8" pan-head screws | 4 or 8 | Amazon |
| #6 flat washers | 4 or 8 | Amazon |
| M2.5 × 10 screws | 4 | Amazon |
| M2.5 hex nuts | 4 | Amazon |
| Rubber bumper feet | 4 | Amazon |
| PETG filament | ≈1.1 kg | any |
4 screws and washers for side by side, 8 for stacked. For the first run you also need isopropyl alcohol, 90 % or stronger, and cotton swabs.
Put together くみたて
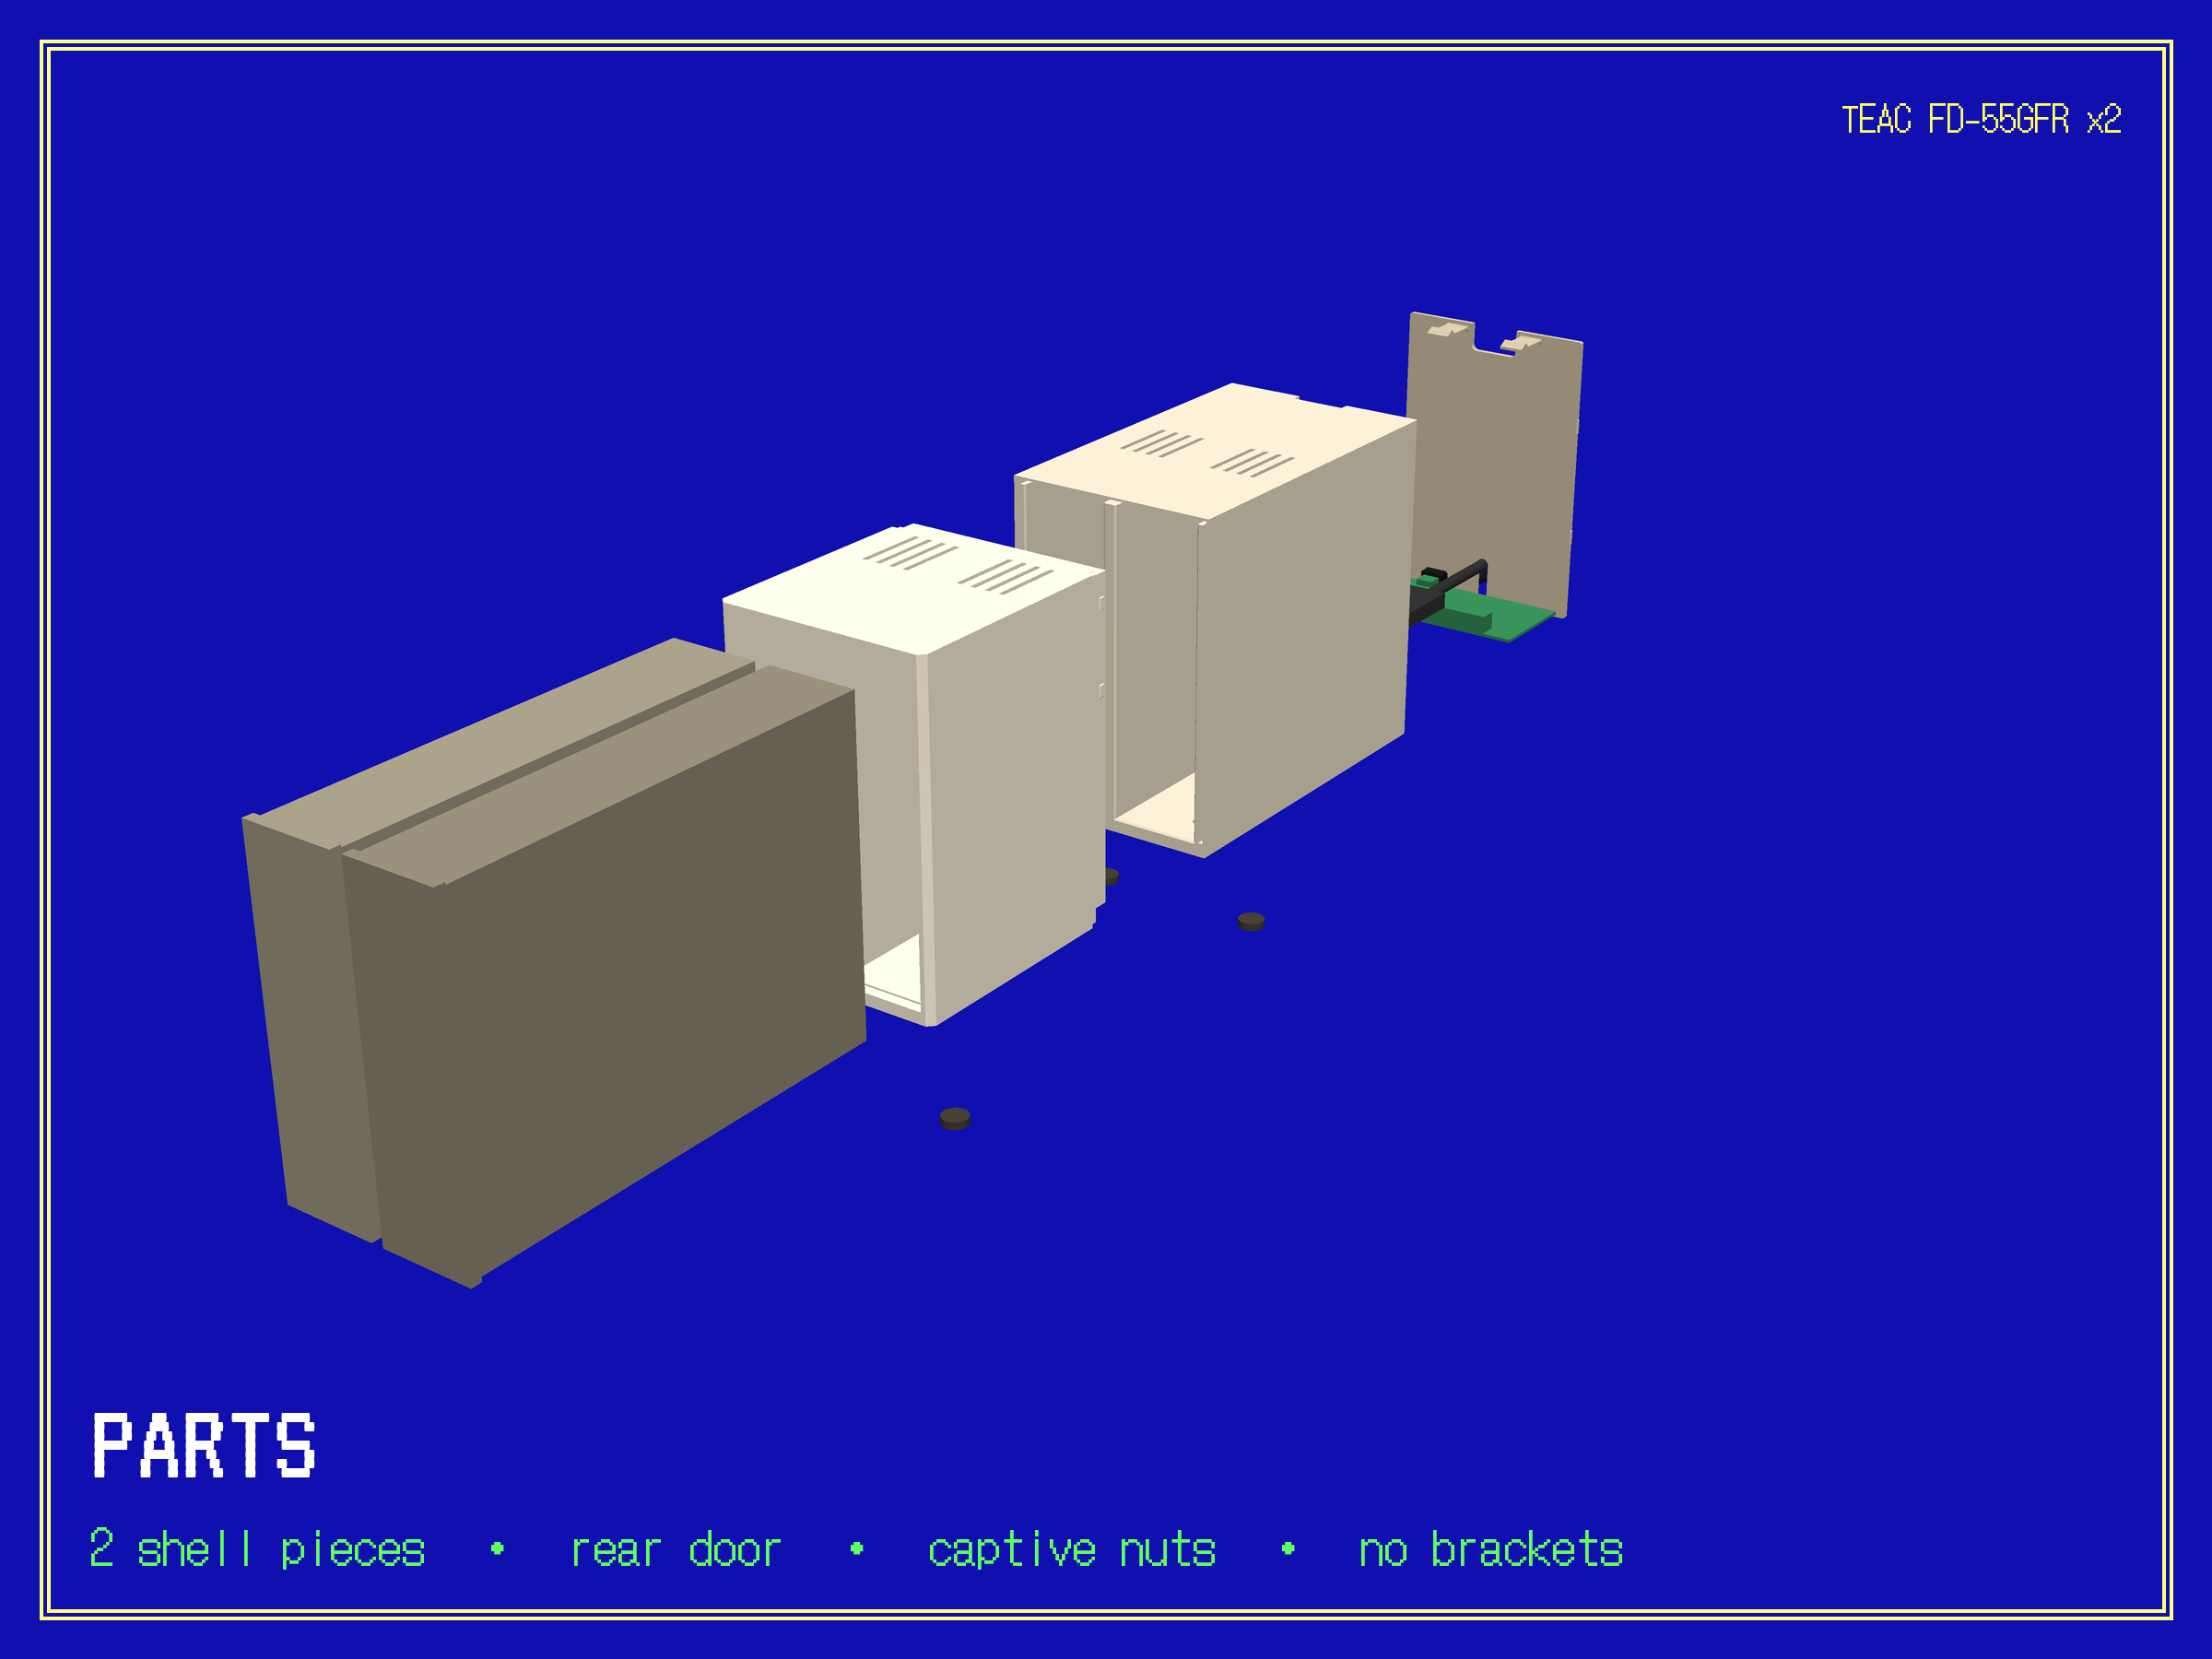
- Press the four M2.5 nuts into the pockets under the rear shell.
- Screw the Greaseweazle onto the four posts, components up, USB-C toward the back. Snug, not tight.
- Plug in the USB-C cable.
- Push the two shells together until they click.
- Slide each drive in from the front, back end first, until its bezel sits flush.
- Screw the drives down, a washer under every head. Side by side: two per drive, up through the floor. Stacked: four per drive, through the side walls. Hold the shells together while you tighten. Snug, no wrist.
- Connect the ribbon and power. The connector past the twist goes to one drive, the middle one to the other. Leave the drives' jumpers alone.
- Snap the door on: drop its bottom tabs into the slots, then swing the top in until it clicks.
- Stick on the feet.
Get the bridge ソフトウェア
- Right-click the file, Properties, Permissions, and make it executable.
- Double-click it. A window opens, and the program is in your menu from then on.
You also need RetroArch with the Neko Project II kai core and your own PC-98 BIOS files. The window lists anything that's missing and how to get it.
Download for Windows: double-click it. The window tells you if the disk driver, WinFsp, is missing and where to get it. Playing and disk swaps work; saving to a real disk hasn't been tested on Windows yet.
A macOS version comes once it's been tested on a real machine.
Run スタート
- First time only: put a disk in the left drive only, label up, and press Check.
- Put the game's first disk in the left drive and press START.
- Press PLAY.
- When the game asks for another disk, open the lever, change the disk and close the lever.
- Press STOP when you're done. Anything unsaved is written first.
Back up this disk reads the disk once and saves it in its game's folder in Documents/PC98 Floppies: a D88 image, which keeps copy protection, and the raw flux beside it. Use a backup instead plays from that copy.
Wait a couple of seconds after saving before you open a lever. Cover a disk's write notch and the game can't write to it.
Something else? Full notes.